

Easy Stovetop Yogurt Recipe
Here's the recipe you've been waiting for! So many of you have asked for a yogurt recipe that doesn't require special equipment, and it's here!
But first, a story:
In 2011, when Ben and I were dating, he asked me to try making yogurt. We didn’t have any dairy animals, but I was getting raw milk from a local farmer.
At the time, Ben and I were working at the same farm, and I would leave homemade yogurt jars in the farm fridge for him.
Well, I read homestead blogs and tried a bunch of methods: leaving the pilot light on in the oven, culturing in a slow cooker, etc.
Nothing was turning out thick and creamy. It was liquid-y every time. It was hilarious to me as Ben would politely leave the jars in the fridge and not eat runny yogurt! :)
I found a recipe for stovetop yogurt that changed my yogurt production, and I joke, changed our relationship ;) and now I’m sharing this recipe with you!
Once you get a knack for each step, it comes together easily:
Heat the milk
Cool the milk
Add culture
Let sit
Let’s get started!
Scroll to the end of this blog recipe to skip the photos to see the entire recipe typed up in one place. :)
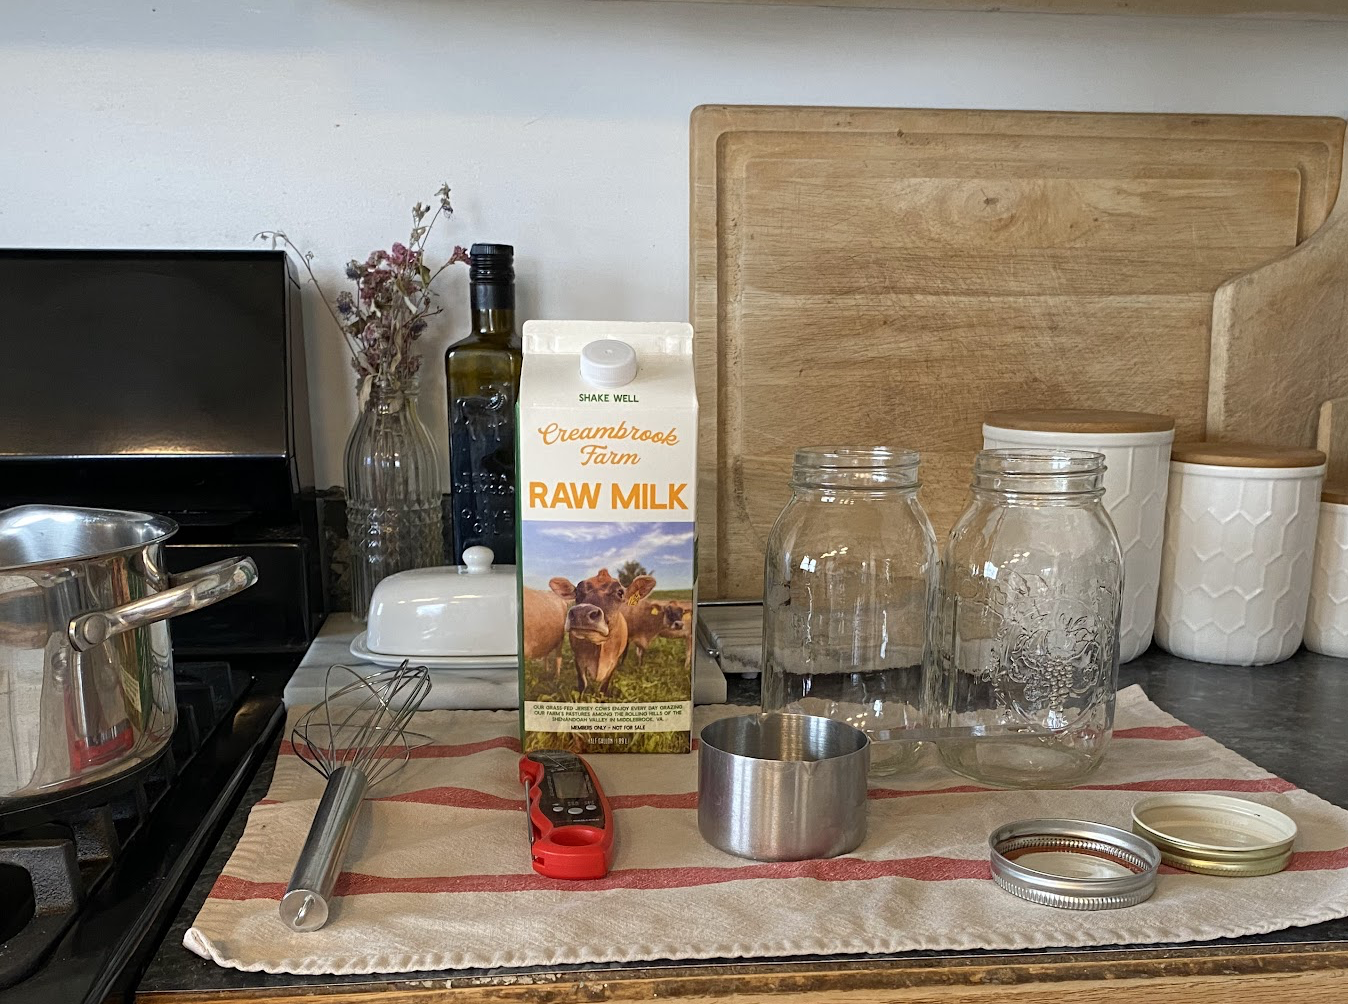
First, gather your supplies.
You will need:
1 or 2 gallon stock pot
1 carton (half gallon) of Creambrook Raw Milk
0.5 cup plain yogurt (we use Stonyfield, but anything with live cutlures should work)
a kitchen thermometer
measuring cups
whisk
2 quart jars and a smaller jar, with lids
cooler that can fit 1 gallon of water and the jars
Make sure that your space, jars, & lids are clean, and that in between using the thermometer, it is set on a clean surface in between checking temps.
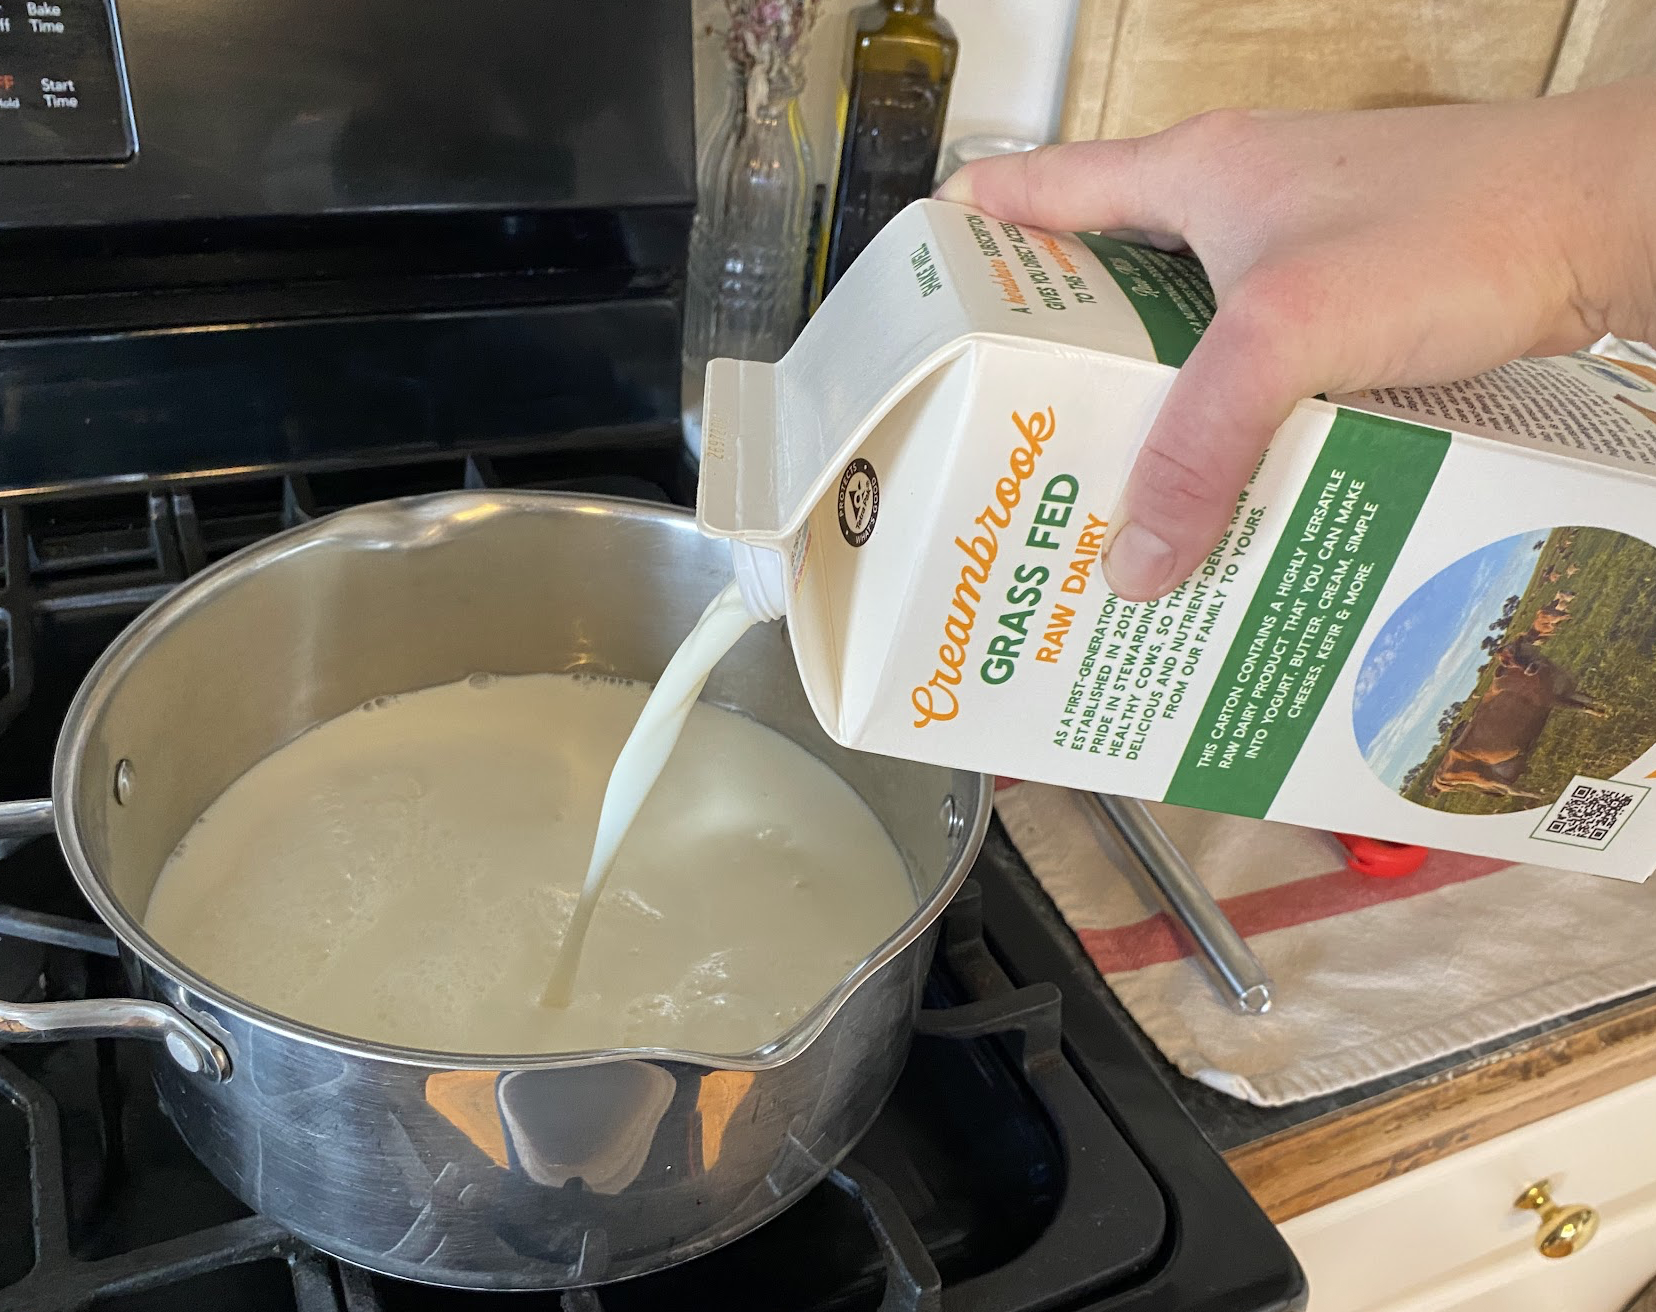
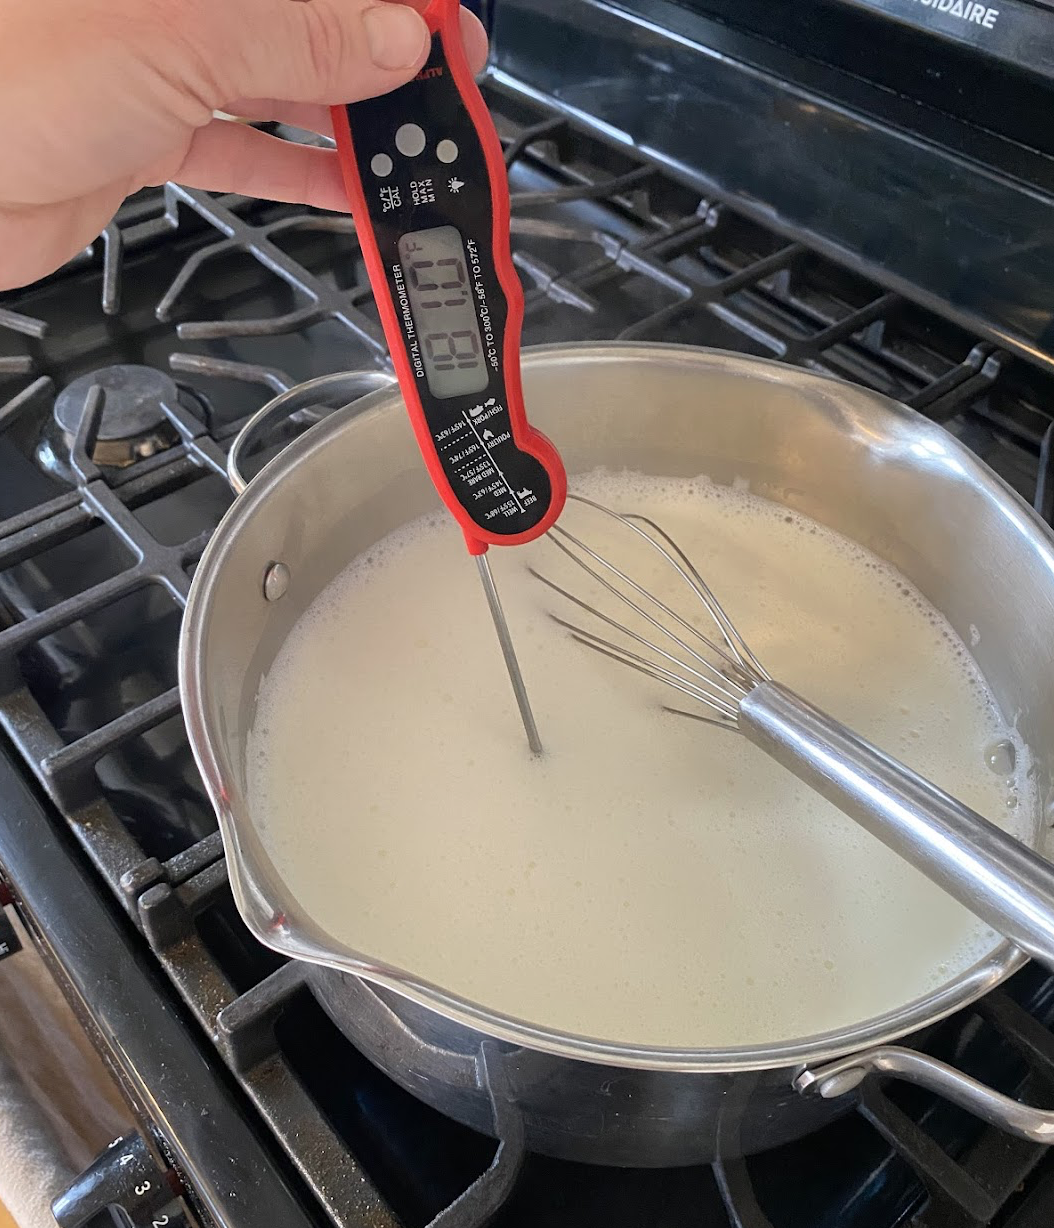
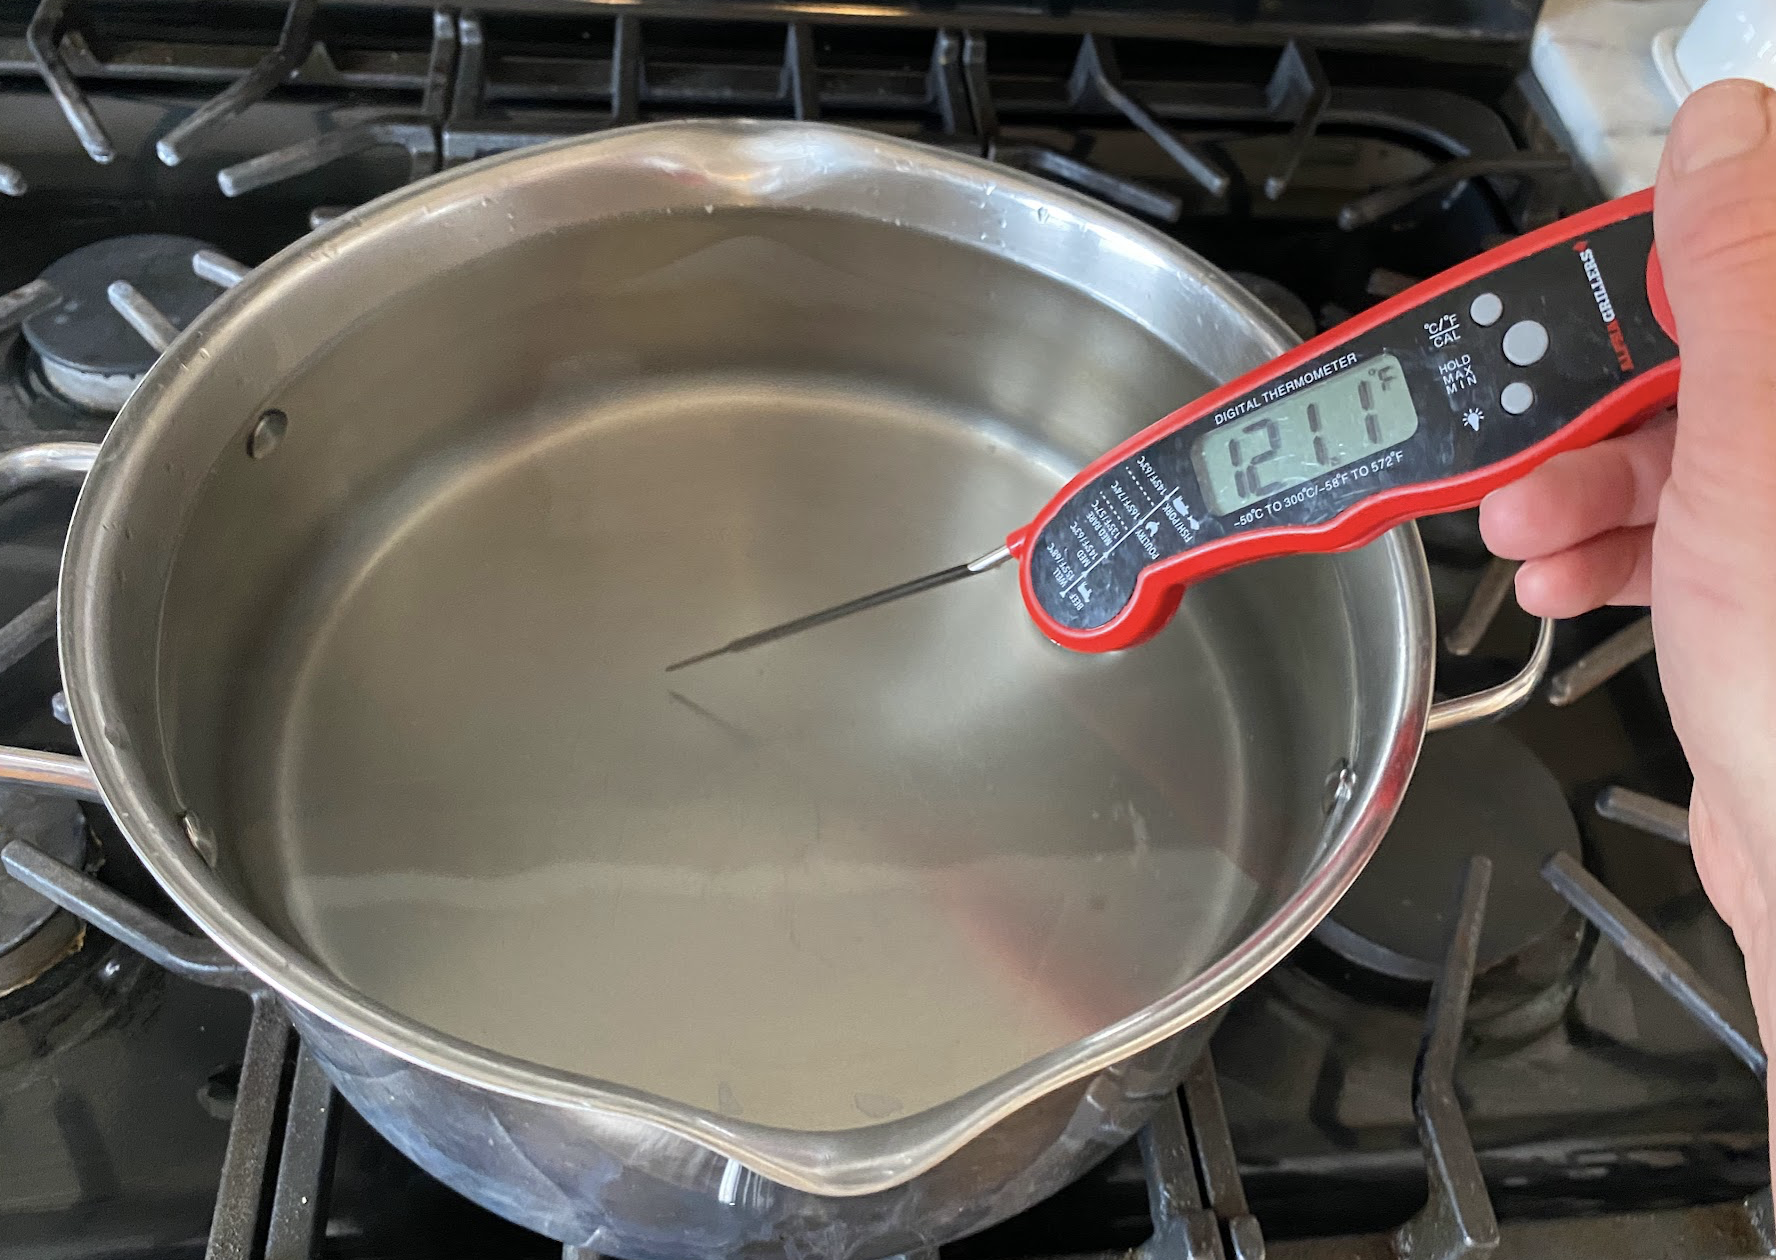
Heat the milk on Med-Low heat to 180 F, while whisking.
Why heat the milk to 180 F? Doesn’t this change raw milk?
Heating raw milk to 180 F changes the raw milk profile. In order to make thick yogurt, the milk needs to have a “blank slate” so that the yogurt cultures can populate and create thick yogurt. Raw milk has beneficial bacteria and enzymes, and heating creates a space for the yogurt cultures to thrive.
In my personal perspective, our family drinks plenty of raw milk to have the benefits of good bacteria, probiotics, and enzymes from raw milk, and we can also enjoy delicious, full fat, thick yogurt!
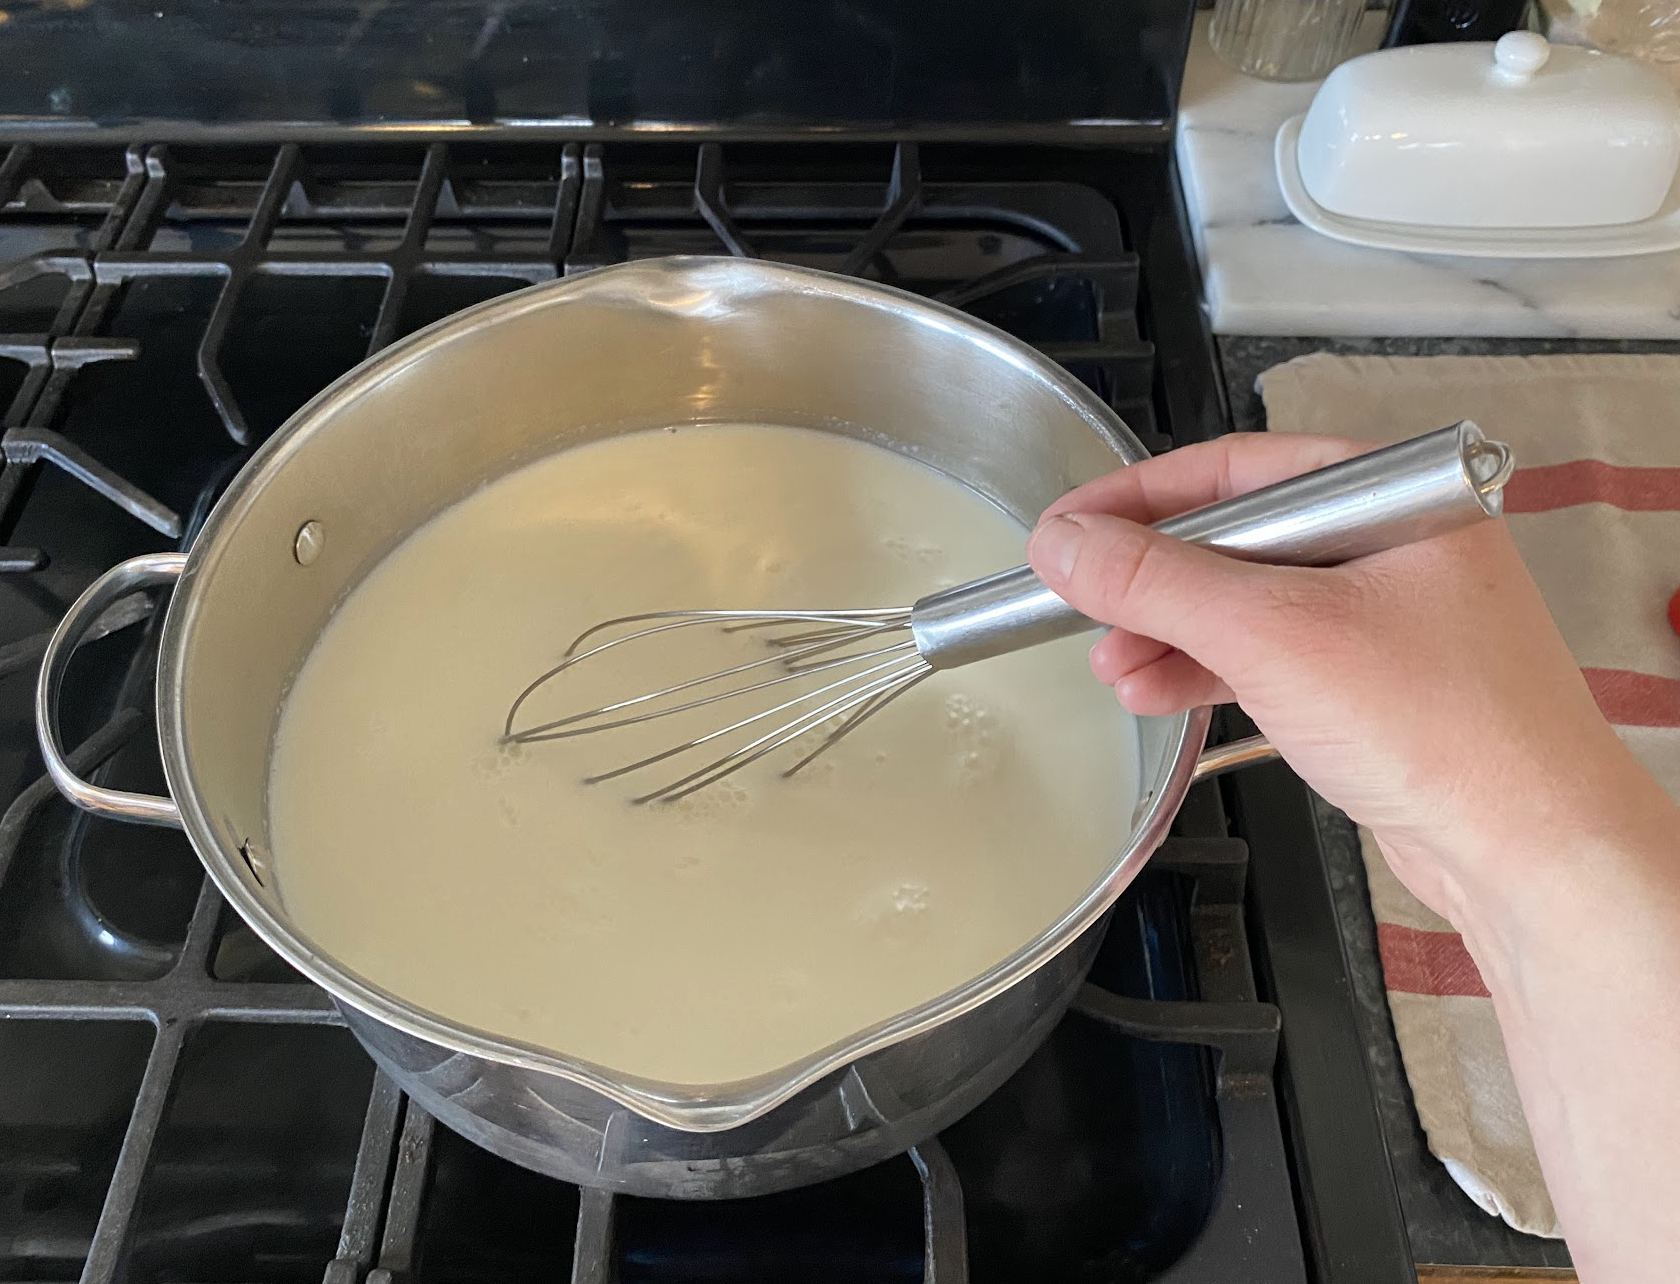
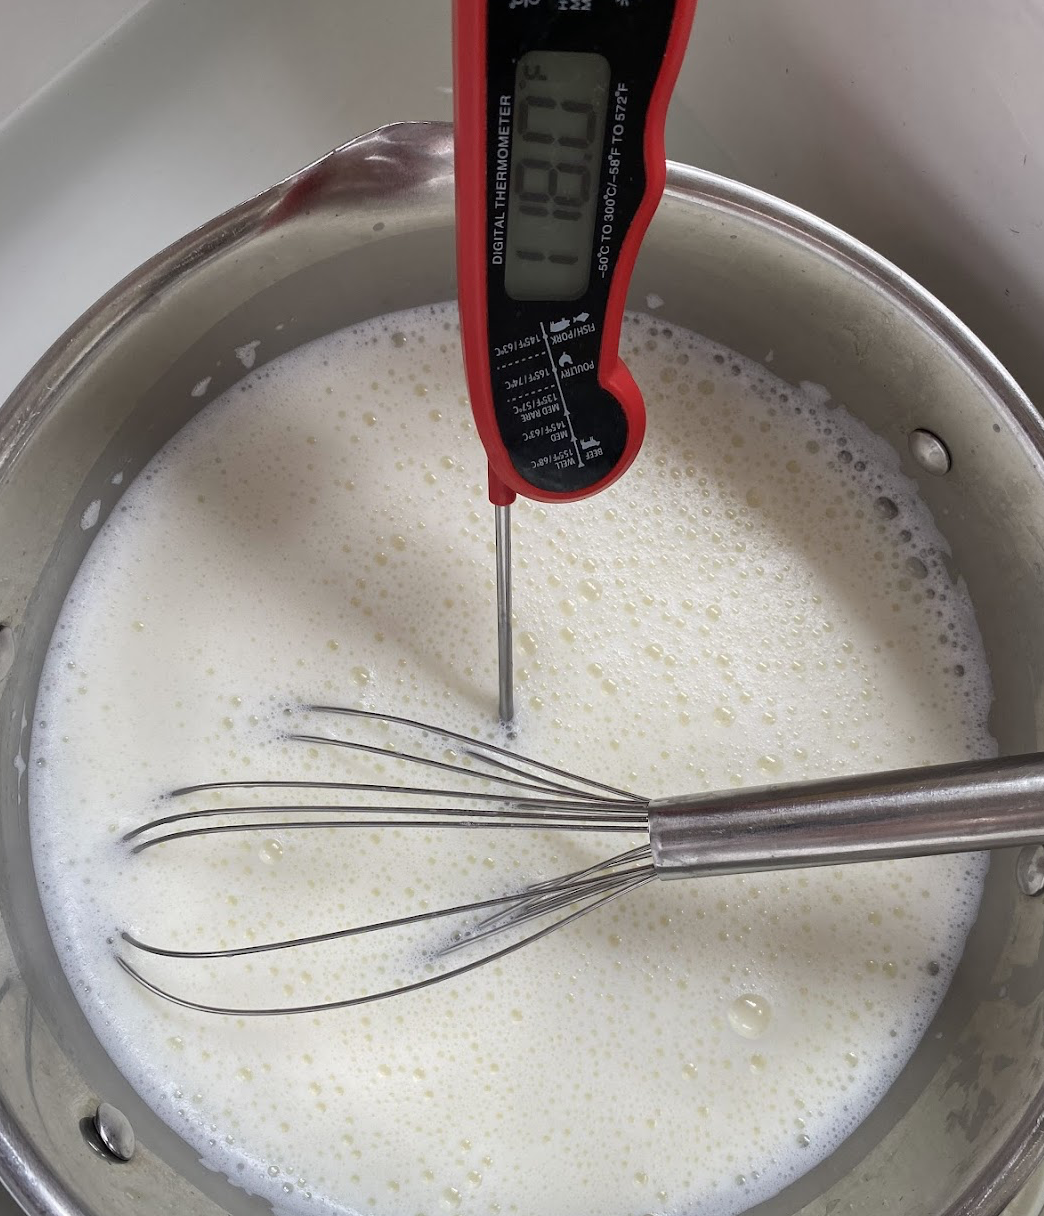
Prepare a clean sink of cold water to place your pot in.
Once the milk reaches 180 F, carefully place it in your sink of cold water. Whisk the milk until it reaches a temp between 115 - 119 F.
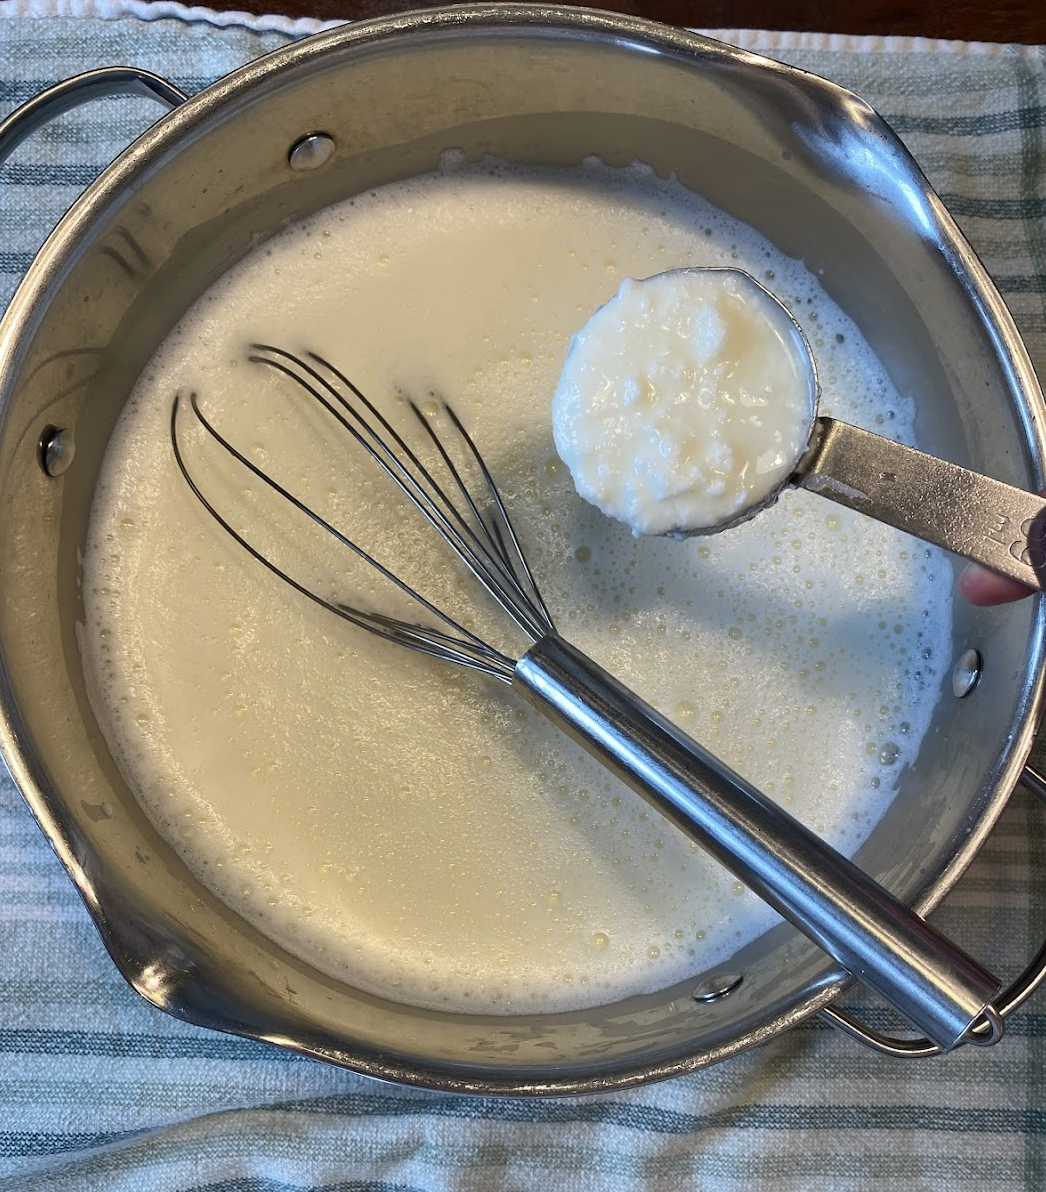
Once your milk reaches 115 - 119 F, remove from the sink, place on a towel on the counter, and whisk in one half cup (0.5 cup) yogurt.
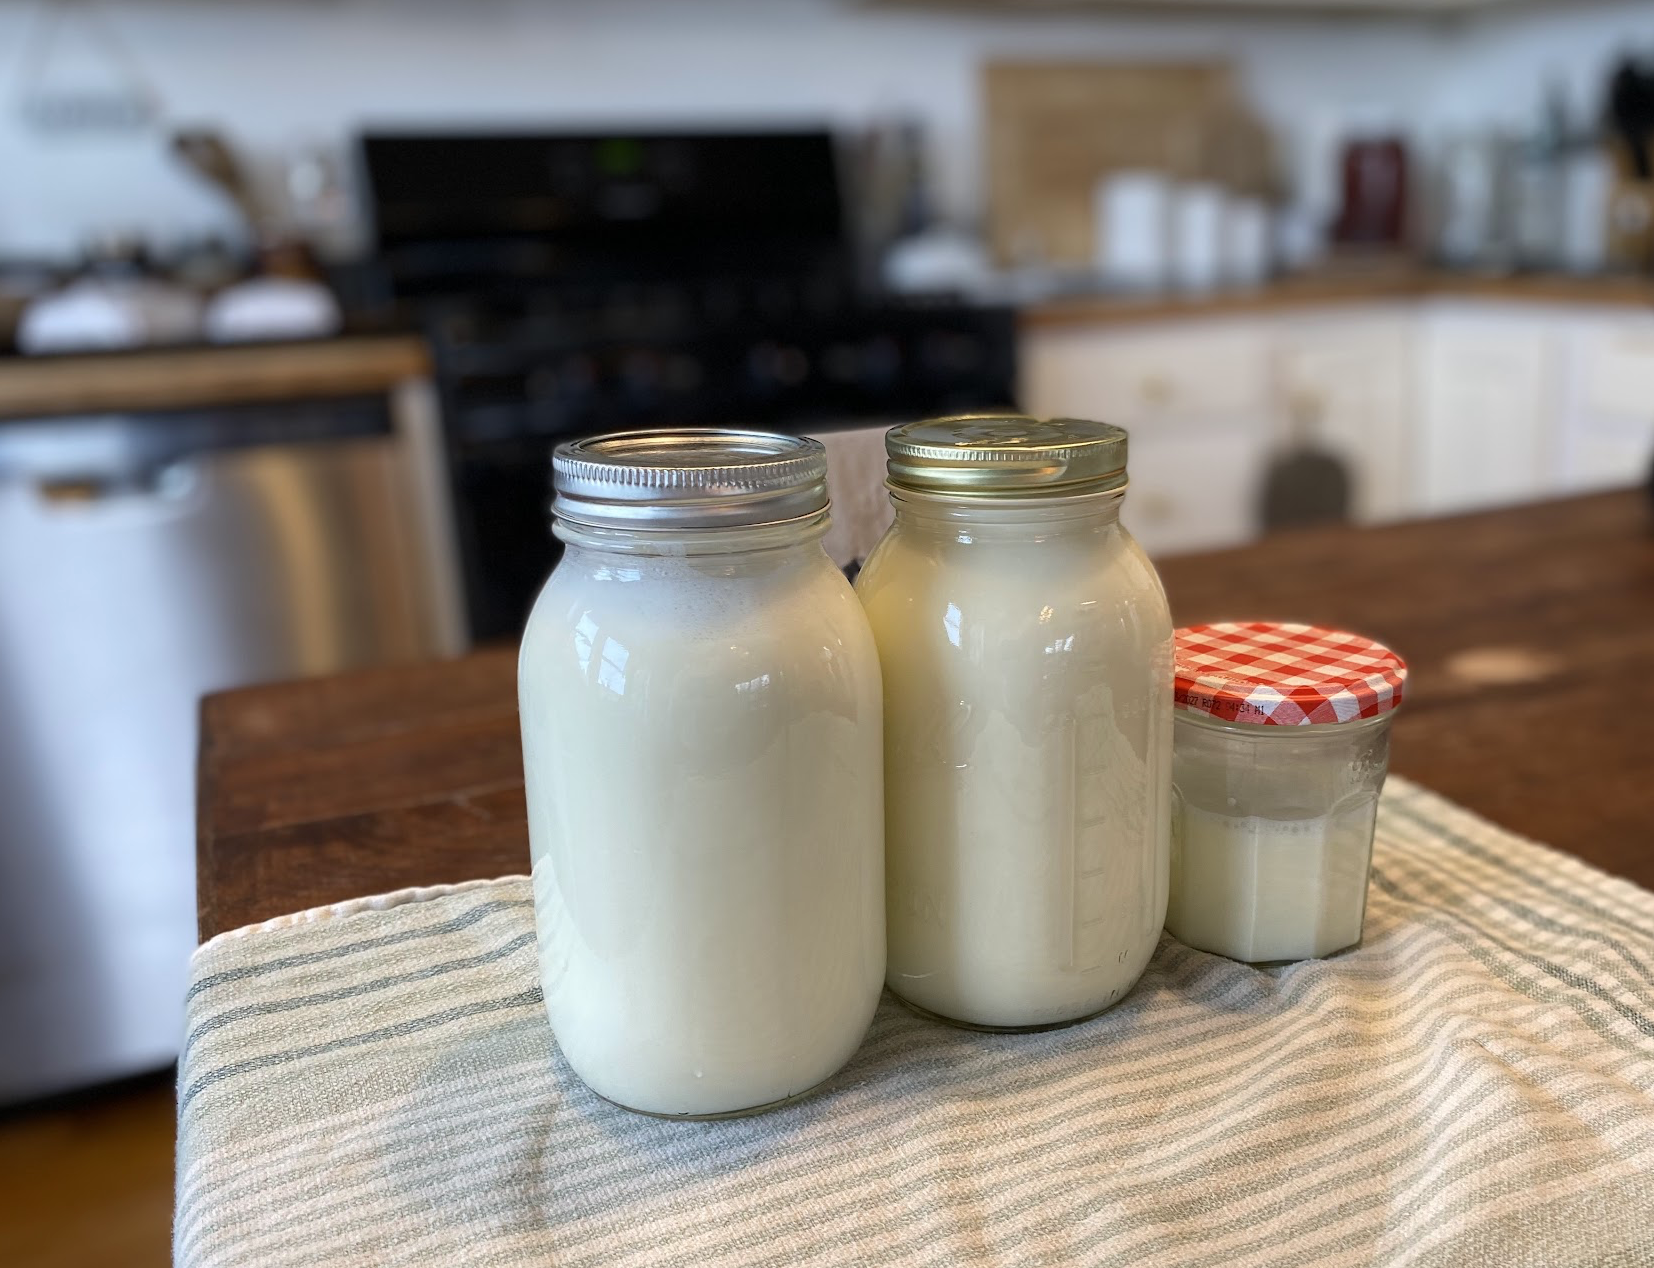
Pour the milk/yogurt mixture into two quart jars. I usually have a cup or so leftover and will put it in a jam jar. Place the lids on securely.
Place your cooler in a draft free area where it won't be disturbed.
Place your jars in the cooler.
On the stove, warm 1 gallon of water to 120 F.
Pour the water into the cooler and place the lid on.
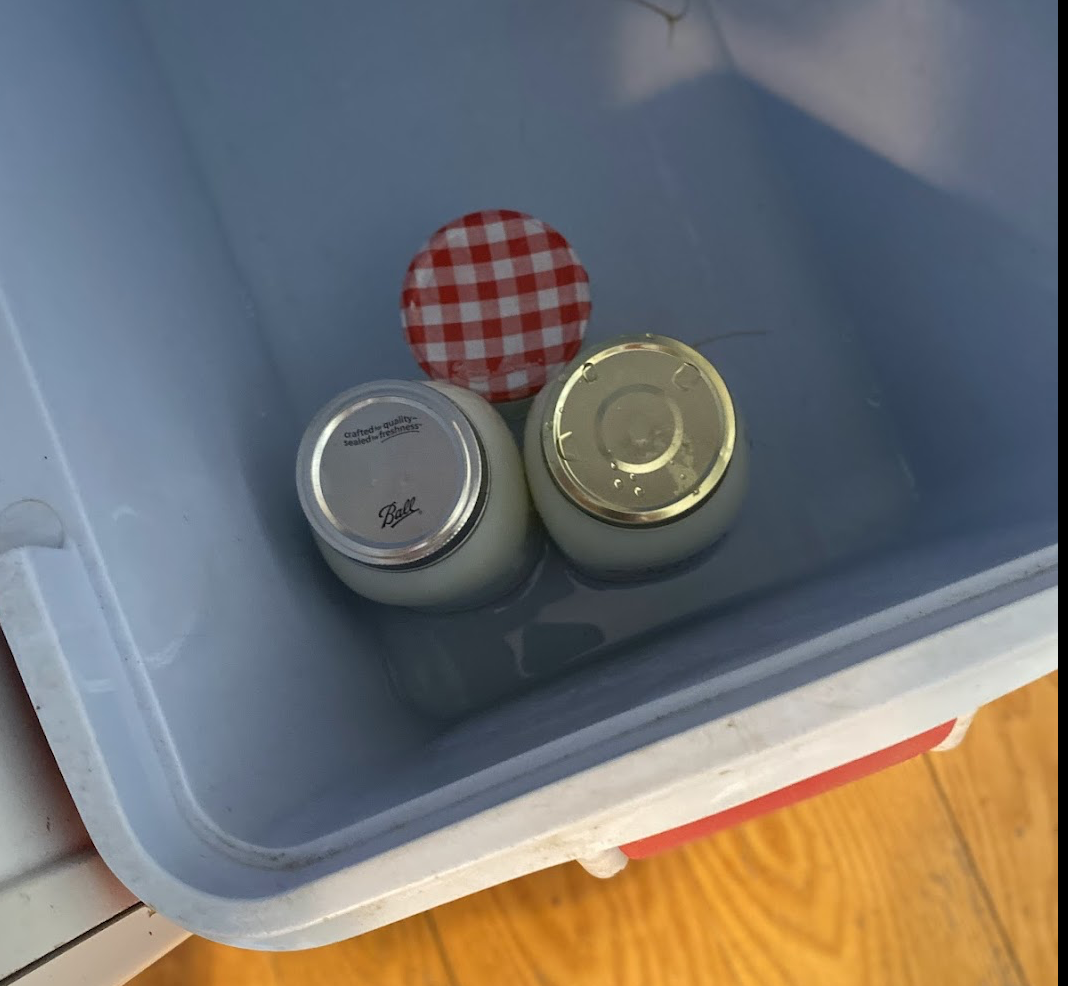
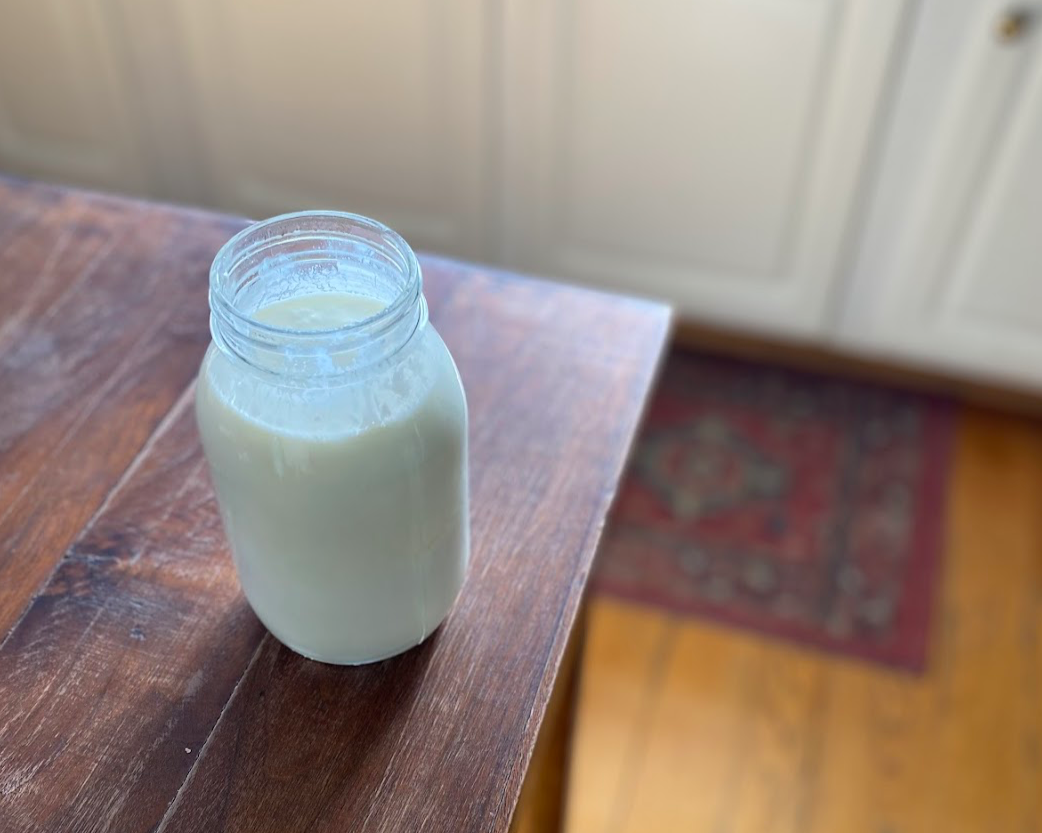
After 5-6 hours, take out the jars, wipe the water off, and let set in the fridge.
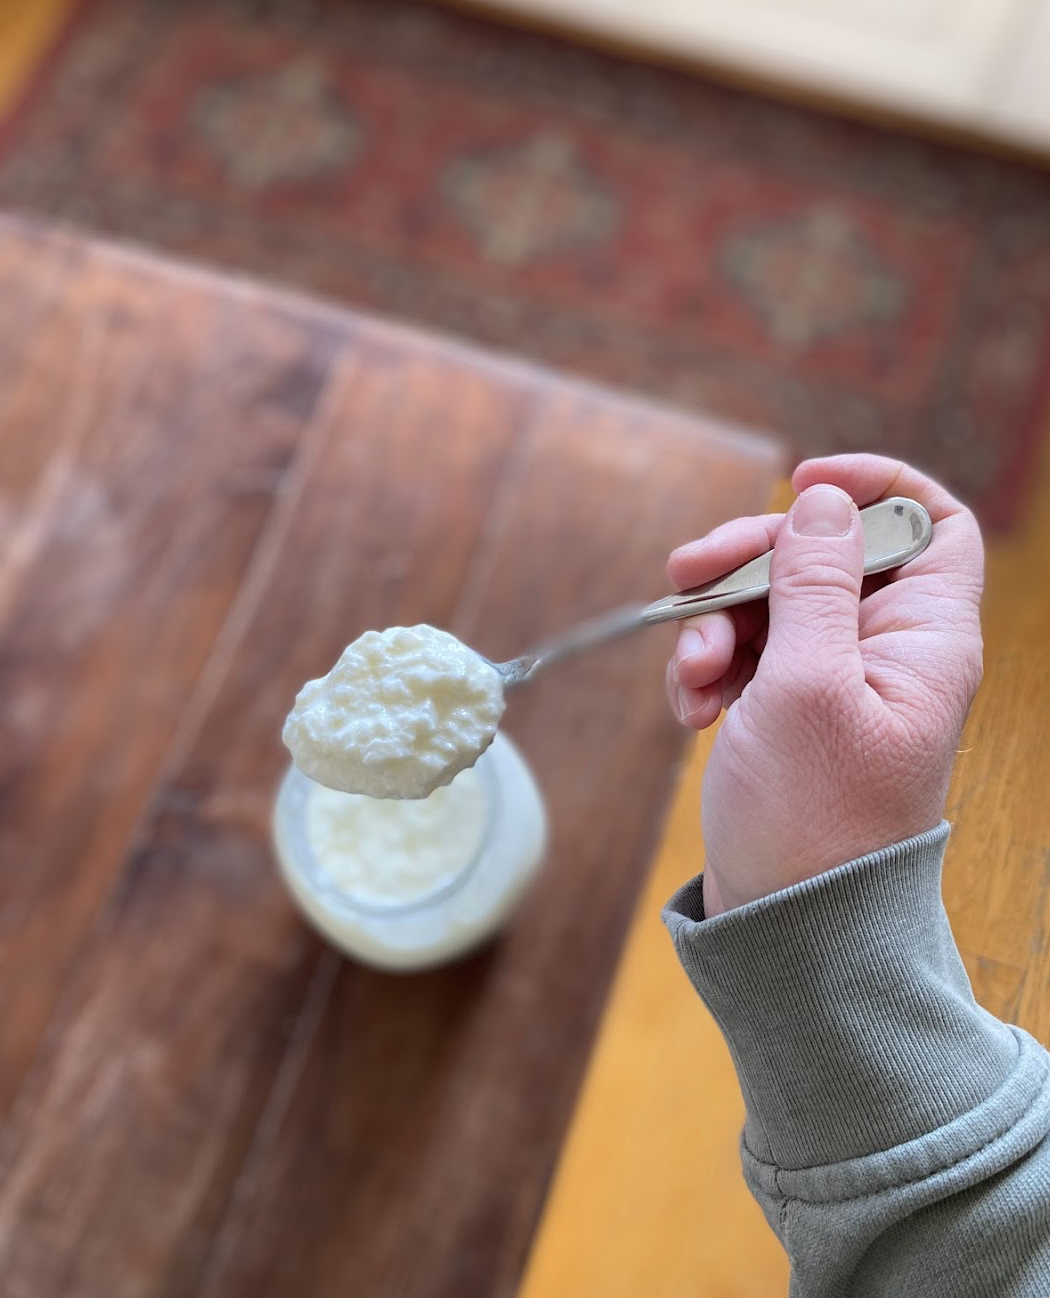
Once chilled, the yogurt will be nice and thick. Enjoy!
You can save a half cup of yogurt to use as your starter for the next batch. I’ve found that I can keep using yogurt from the previous batch for 4-5 batches and then I need to purchase another quart of Stonyfield yogurt to make a new batch.
You can also use powdered yogurt culture, usually sold in single use packets, and that’s a great way to always have yogurt culture on hand.
Happy yogurt-making!
Stovetop Yogurt Recipe
You will need:
1 or 2 gallon stock pot
1 carton (half gallon) of Creambrook Raw Milk
0.5 cup plain yogurt (we use Stonyfield, but anything with live cutlures should work)
a kitchen thermometer
measuring cups
whisk
2 quart jars and a smaller jar, with lids
cooler that can fit 1 gallon of water and the jars
Make sure that your space, jars, & lids are clean, and that in between using the thermometer, it is set on a clean surface in between checking temps.
To make yogurt:
Heat the milk on Med-Low heat to 180 F, while whisking.
Prepare a clean sink of cold water to place your pot in.
When the milk reaches 180 F, carefully place it in your sink of cold water. Whisk the milk until it reaches a temp between 115 - 119 F.
Once your milk reaches 115 - 119 F, remove from the sink, place on a towel on the counter, and whisk in one half cup (0.5 cup) yogurt.
Pour the milk/yogurt mixture into two quart jars. I usually have a cup or so leftover and will put it in a jam jar. Place the lids on securely.
Place your cooler in a draft free area where it won't be disturbed. Place your jars in the cooler.
On the stove, warm 1 gallon of water to 120 F.
Pour the water into the cooler and place the lid on.
After 5-6 hours, take out the jars, wipe the water off, and let set in the fridge.
Once chilled, the yogurt will be nice and thick. Enjoy!
You can save a half cup of yogurt to use as your starter for the next batch. I’ve found that I can keep using yogurt from the previous batch for 4-5 batches and then I need to purchase another quart of Stonyfield yogurt to make a new batch.
You can also use powdered yogurt culture, usually sold in single use packets, and that’s a great way to always have yogurt culture on hand.
Happy yogurt-making!